http://youtu.be/KbJb_oWU1bg
 HELLO!!!
Welcome back and to the 2nd series of our Mad Season 1!!!
If you’ve already guessed from the heading, this 2nd series will be about Beauty!!
We’ll be touching on different aspects of Beauty for this series, so we hope it can be like a surprise for you when you come back to check out new episodes (as of the same for the other 2 series too).
For today!!!
Ving recently tried out this Character Print Nail Art set from Korea which was a gift from sidekick Ginzy.
It looks really interesting!
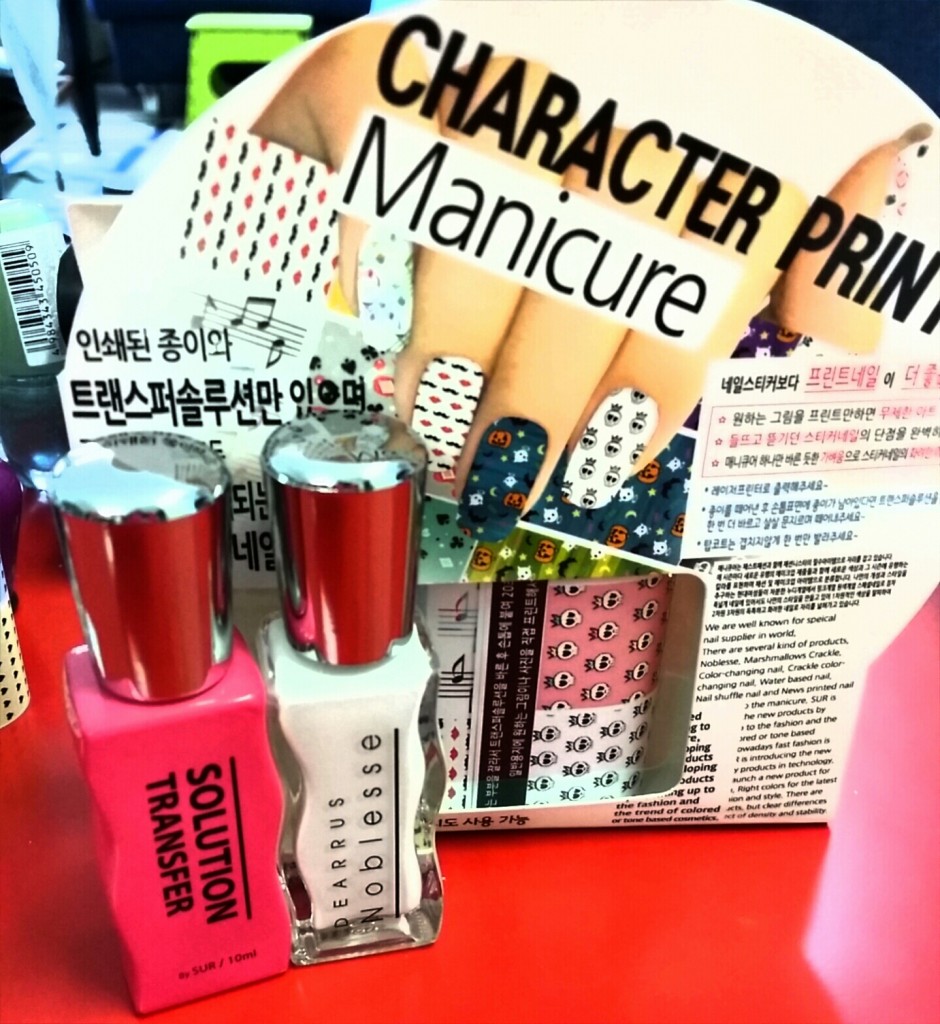 The instructions were in Korean though. But based on the images provided, you’ll be able to understand quite easily the proper way to do this nail art.
So!! Based on my understanding, here’s how we do it……………….
1st step: Apply 2 layers of the white nail polish onto your nails.
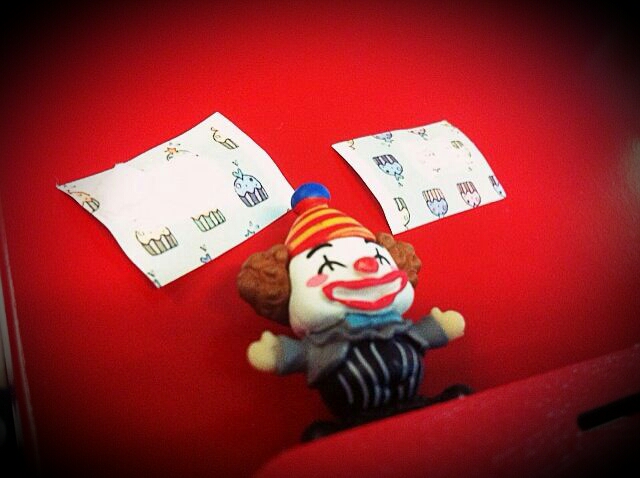
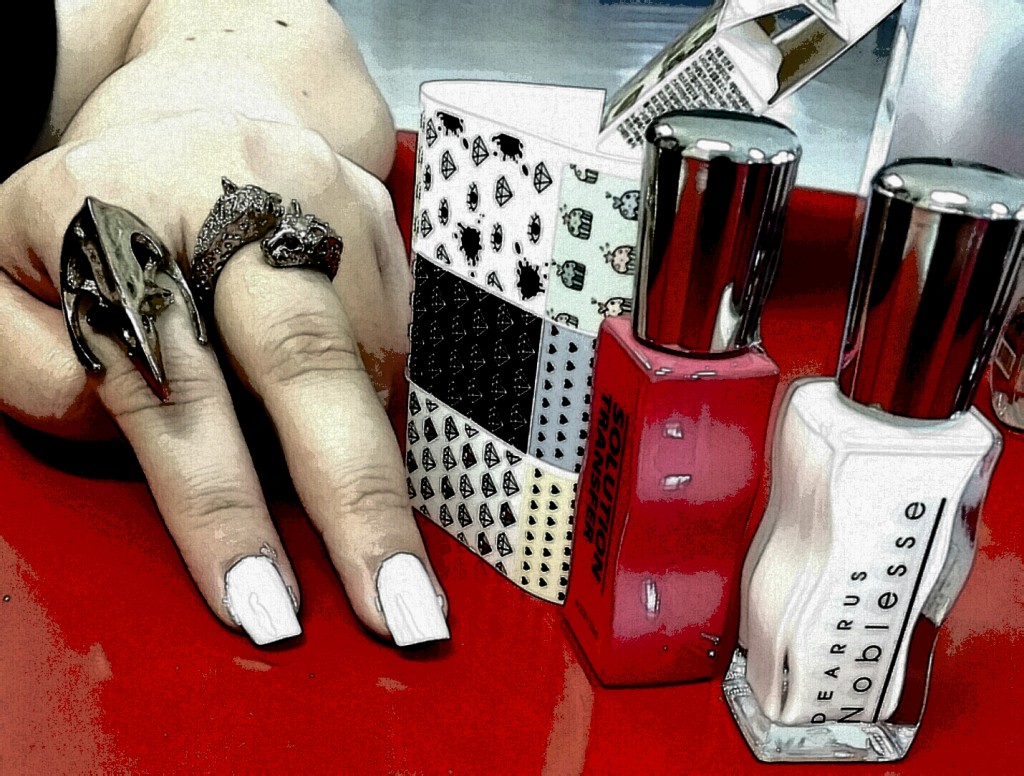 2nd step: While waiting for the nail polish to dry, you can cut out small pieces of the pattern design which you would like to have on your nails.
For me, I chose a cupcakes design as well as this cute skulls design (not pictured below).
(Plus a random cameo by Zown de Clown.)
 3rd step: Apply the Transfer Solution (hot pink bottle) onto a small piece of the design which you’d cut out earlier (on the side with the pattern). Then press it onto your nail before the solution dries up.
This step’s bit tricky. After I tried on few of my nails, I realised that it’ll be better if you apply a layer of the solution onto the flip side of the patterned paper as well while it’s on your nail.
Reason being that the paper will actually get stuck onto your nails too together with the design.
Applying onto the flip side as well will help the design to get stuck onto your nails better, and reduces the chances of the paper getting stuck together.
Think of it as trying to ‘paste’ those temporary tattoos onto your skin.
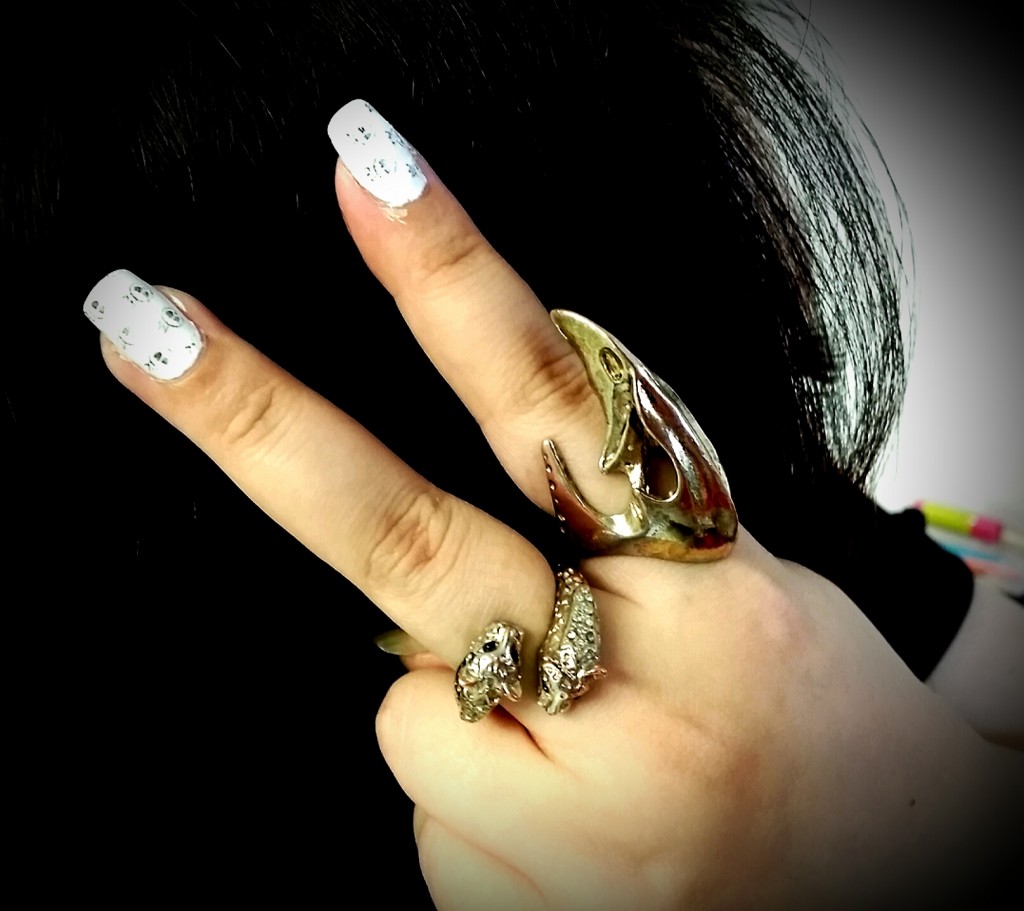
Here are the 1st 2 nails which I tried on with the skull pattern, which didn’t come out that nicely and obvious.
 After ‘pasting’ on the cupcakes design as well, which not the full pattern came out too.
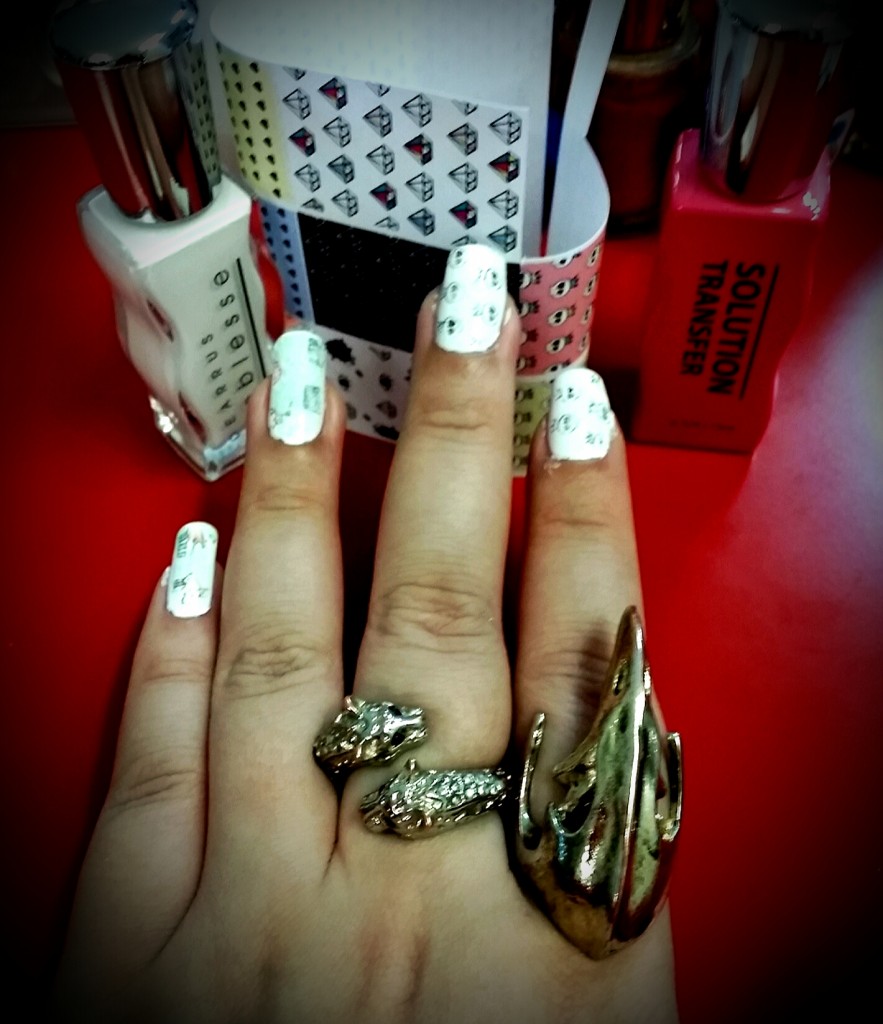
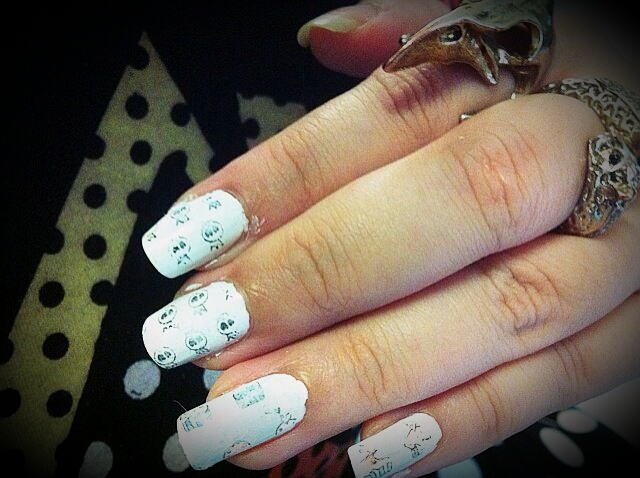
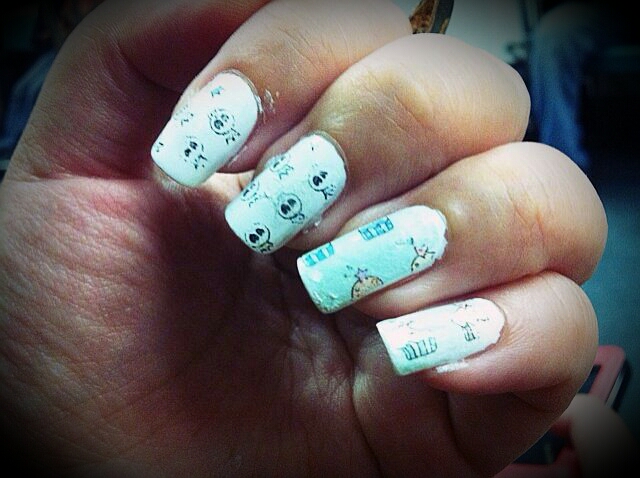 Conclusion: It’s still worth trying! Just that it’ll require some practise before you’ll be able to get the perfect full pattern onto your nails. Still can be a fun activity for a girly night-in with your girlfriends!! ^_^
Do stay tuned for the 1st episode of our 3rd series which will be up on this Friday!!!
Kindly support us!!!!! Thankssssss!!!!!!!!
 ANNYOHASAEYO!!!
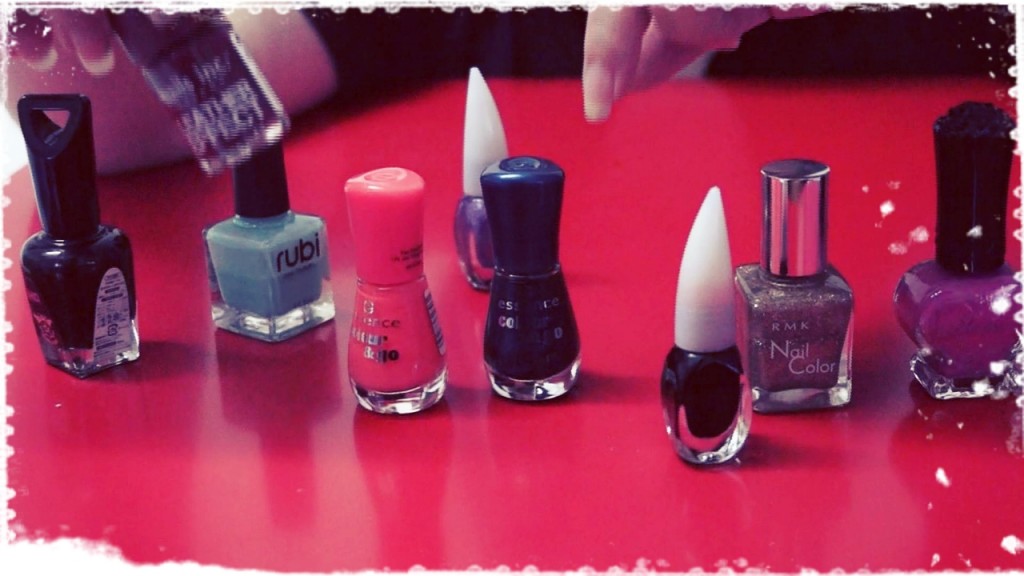 Basically, choose 10 nail colors and apply a color on each nail.
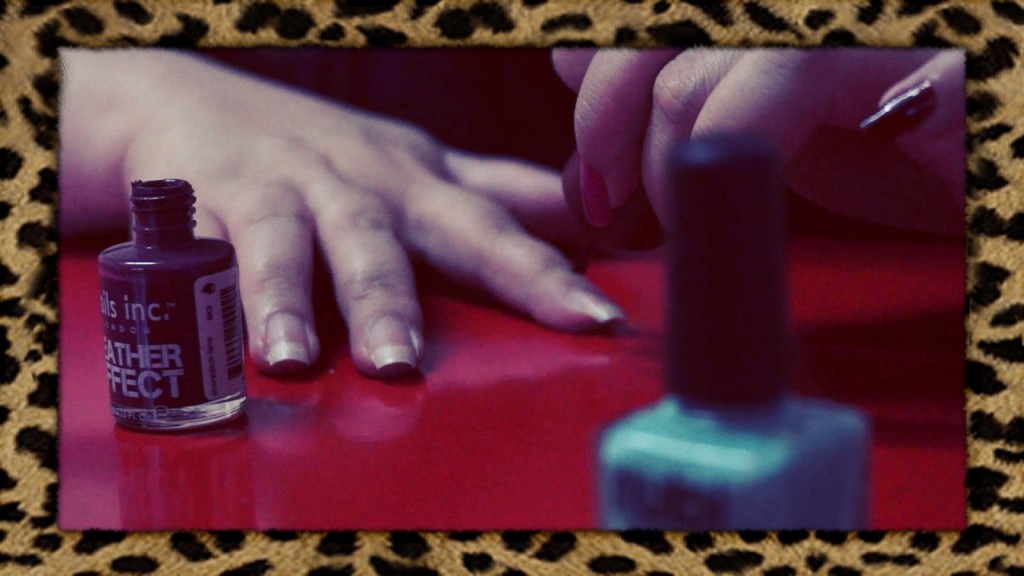 *paint paint paint*
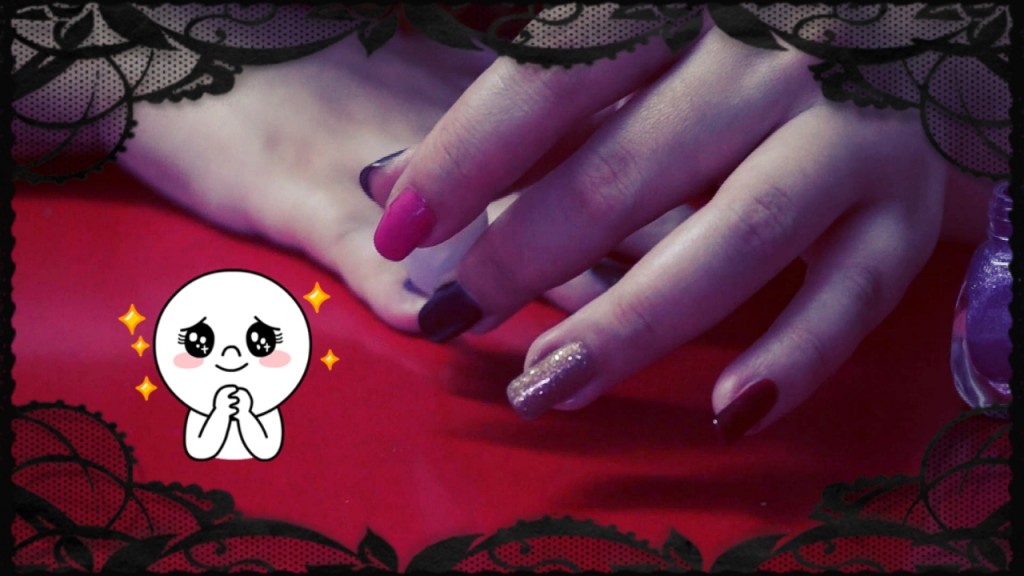 TADAH!!!
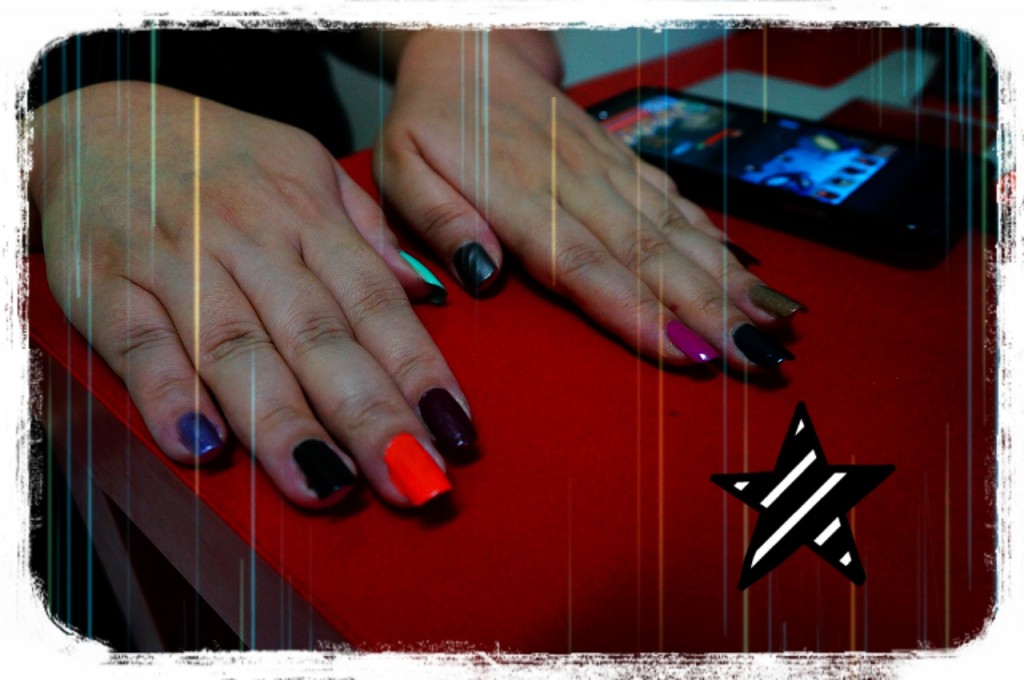 Depending on what your mood is, raise the particular finger which represents that. *teehee*


