http://www.youtube.com/watch?v=C7J3lAYp2ic&feature=em-uploademail&desktop_uri=%2Fwatch%3Fv%3DC7J3lAYp2ic%26feature%3Dem-uploademail
 大家好!!!!
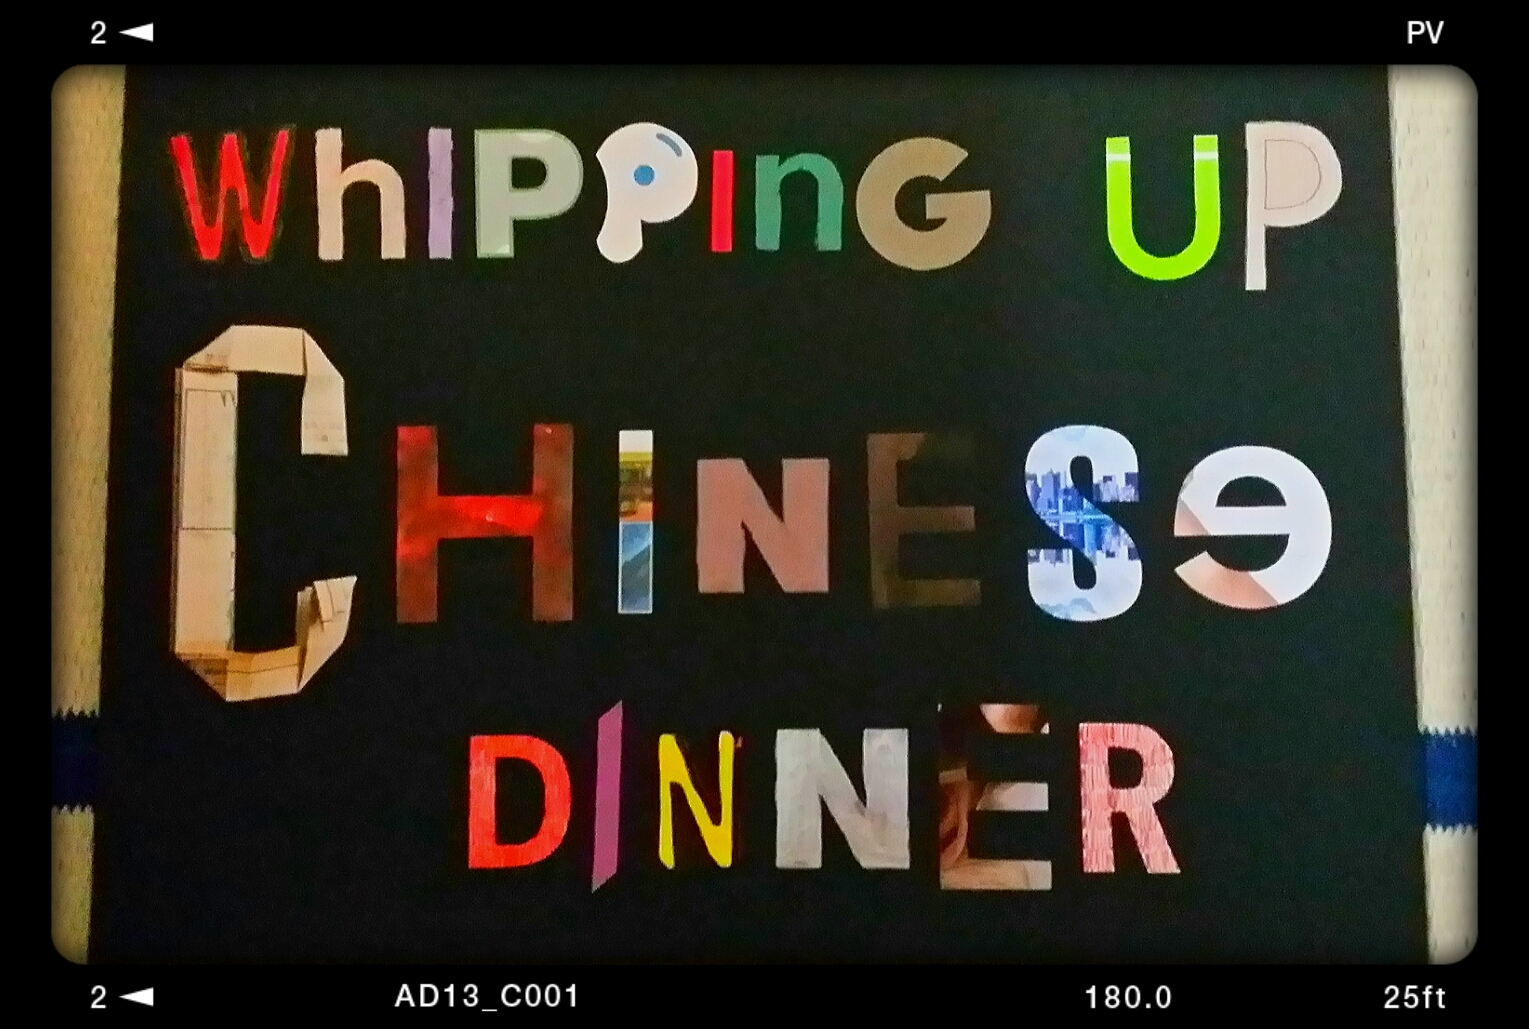
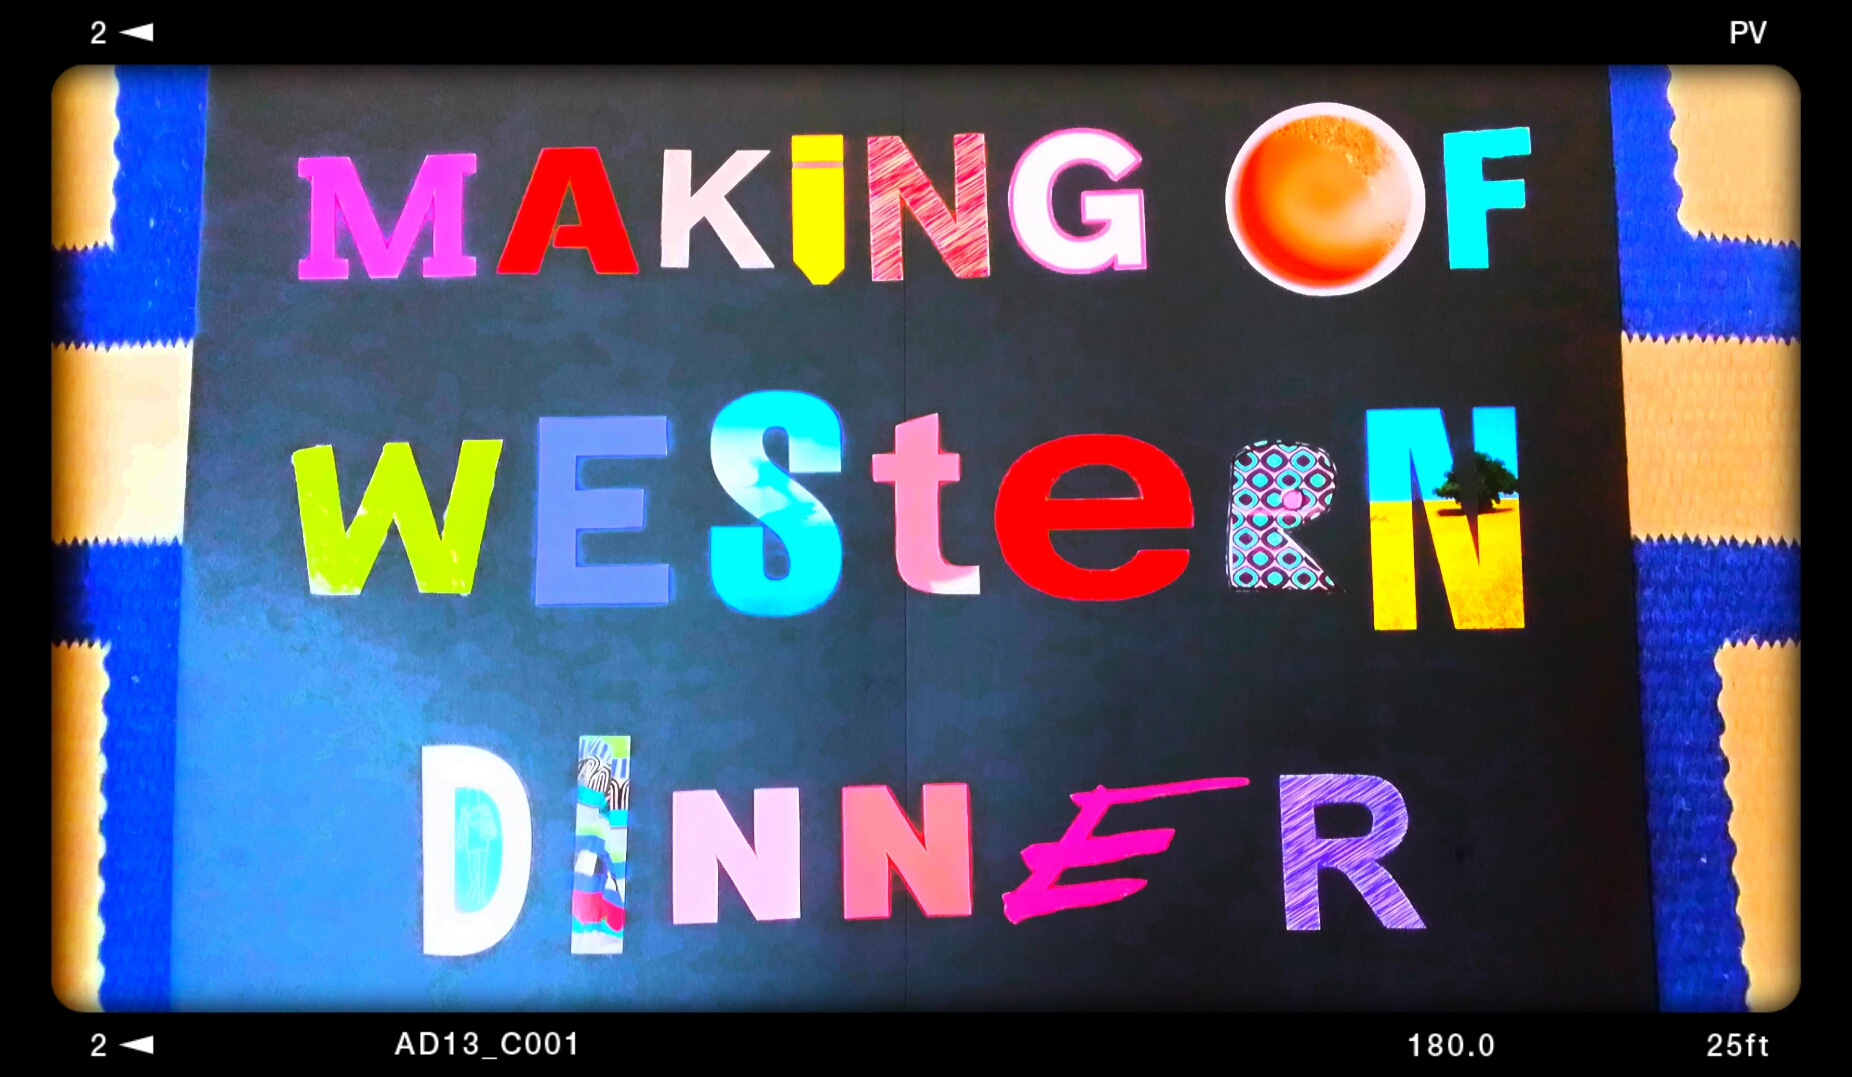
Welcome back, and to the 4th Episode of Cooking Series in Mad Season 1!!!!
TGIF!!!!
For today!!!
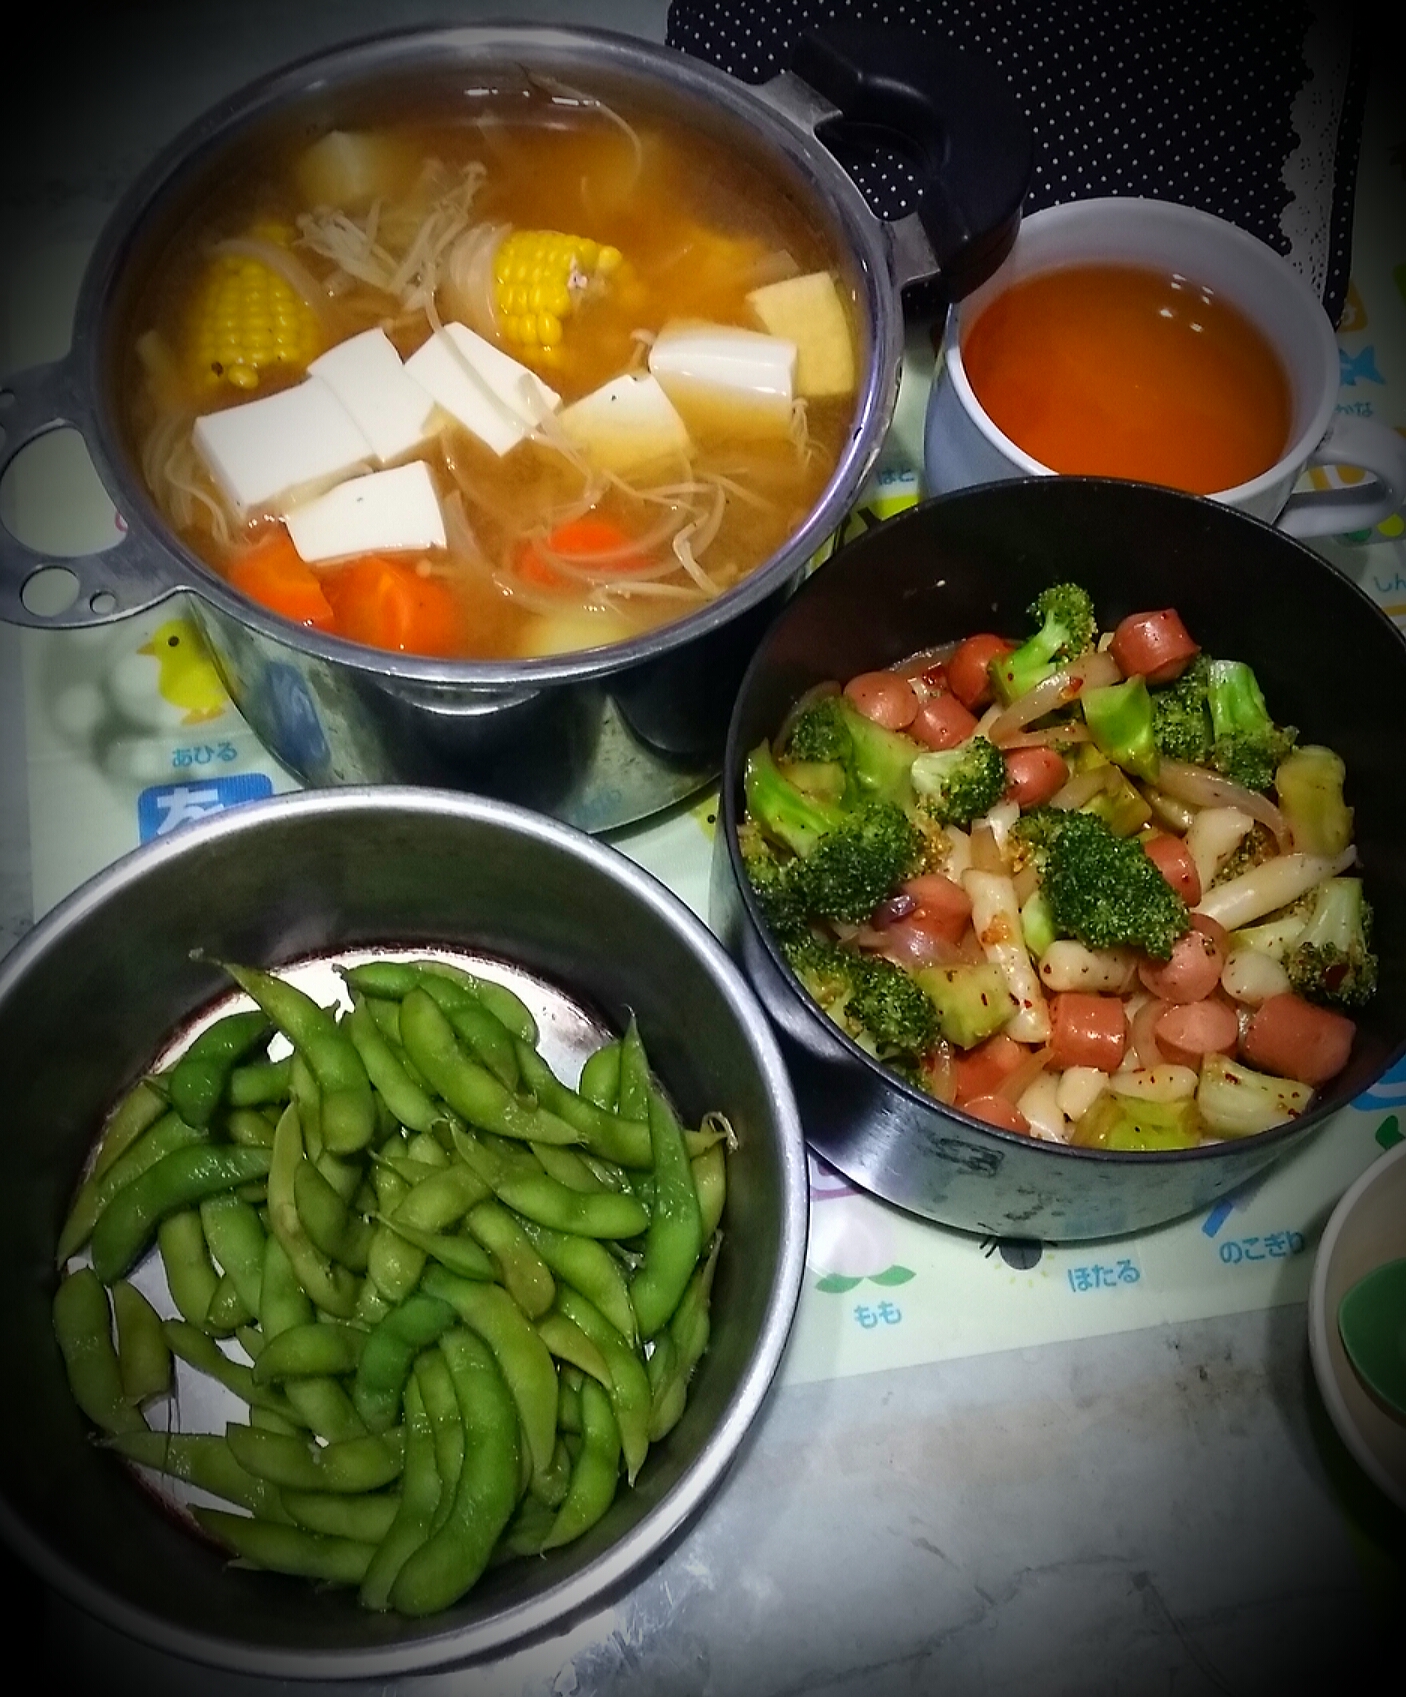
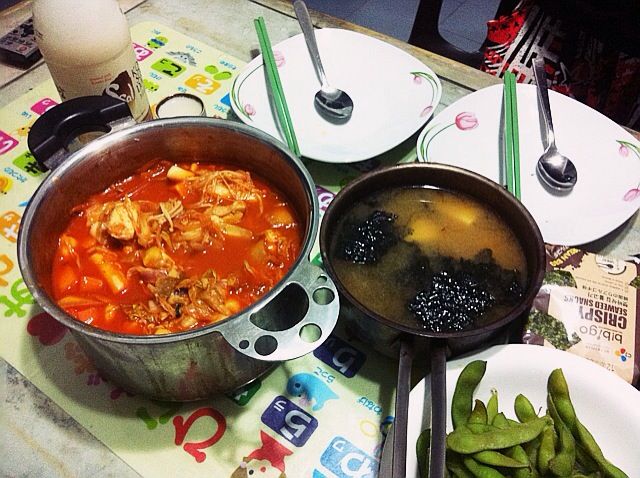
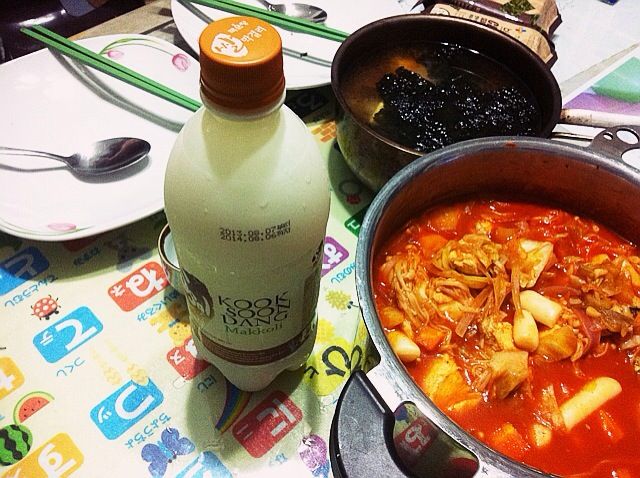
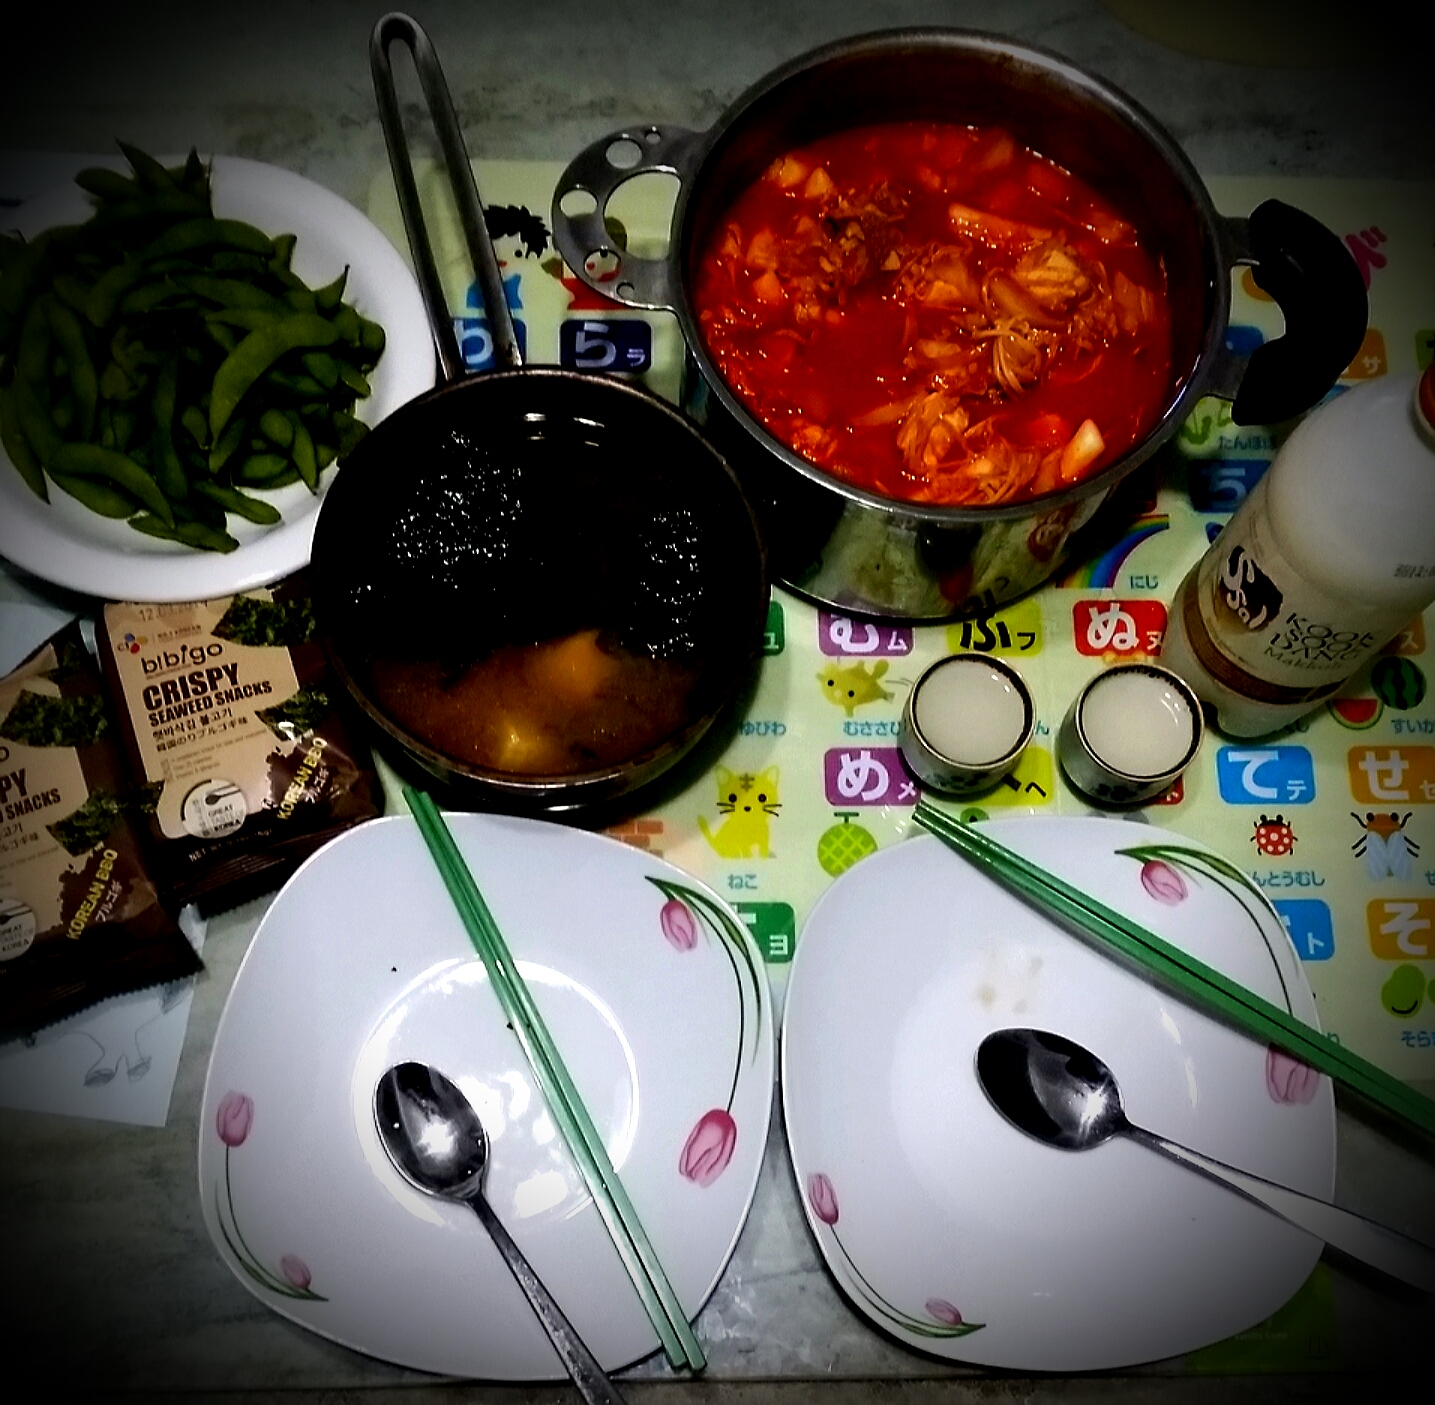
Dinner being served yesterday was Chinese food whipped up by Ving.
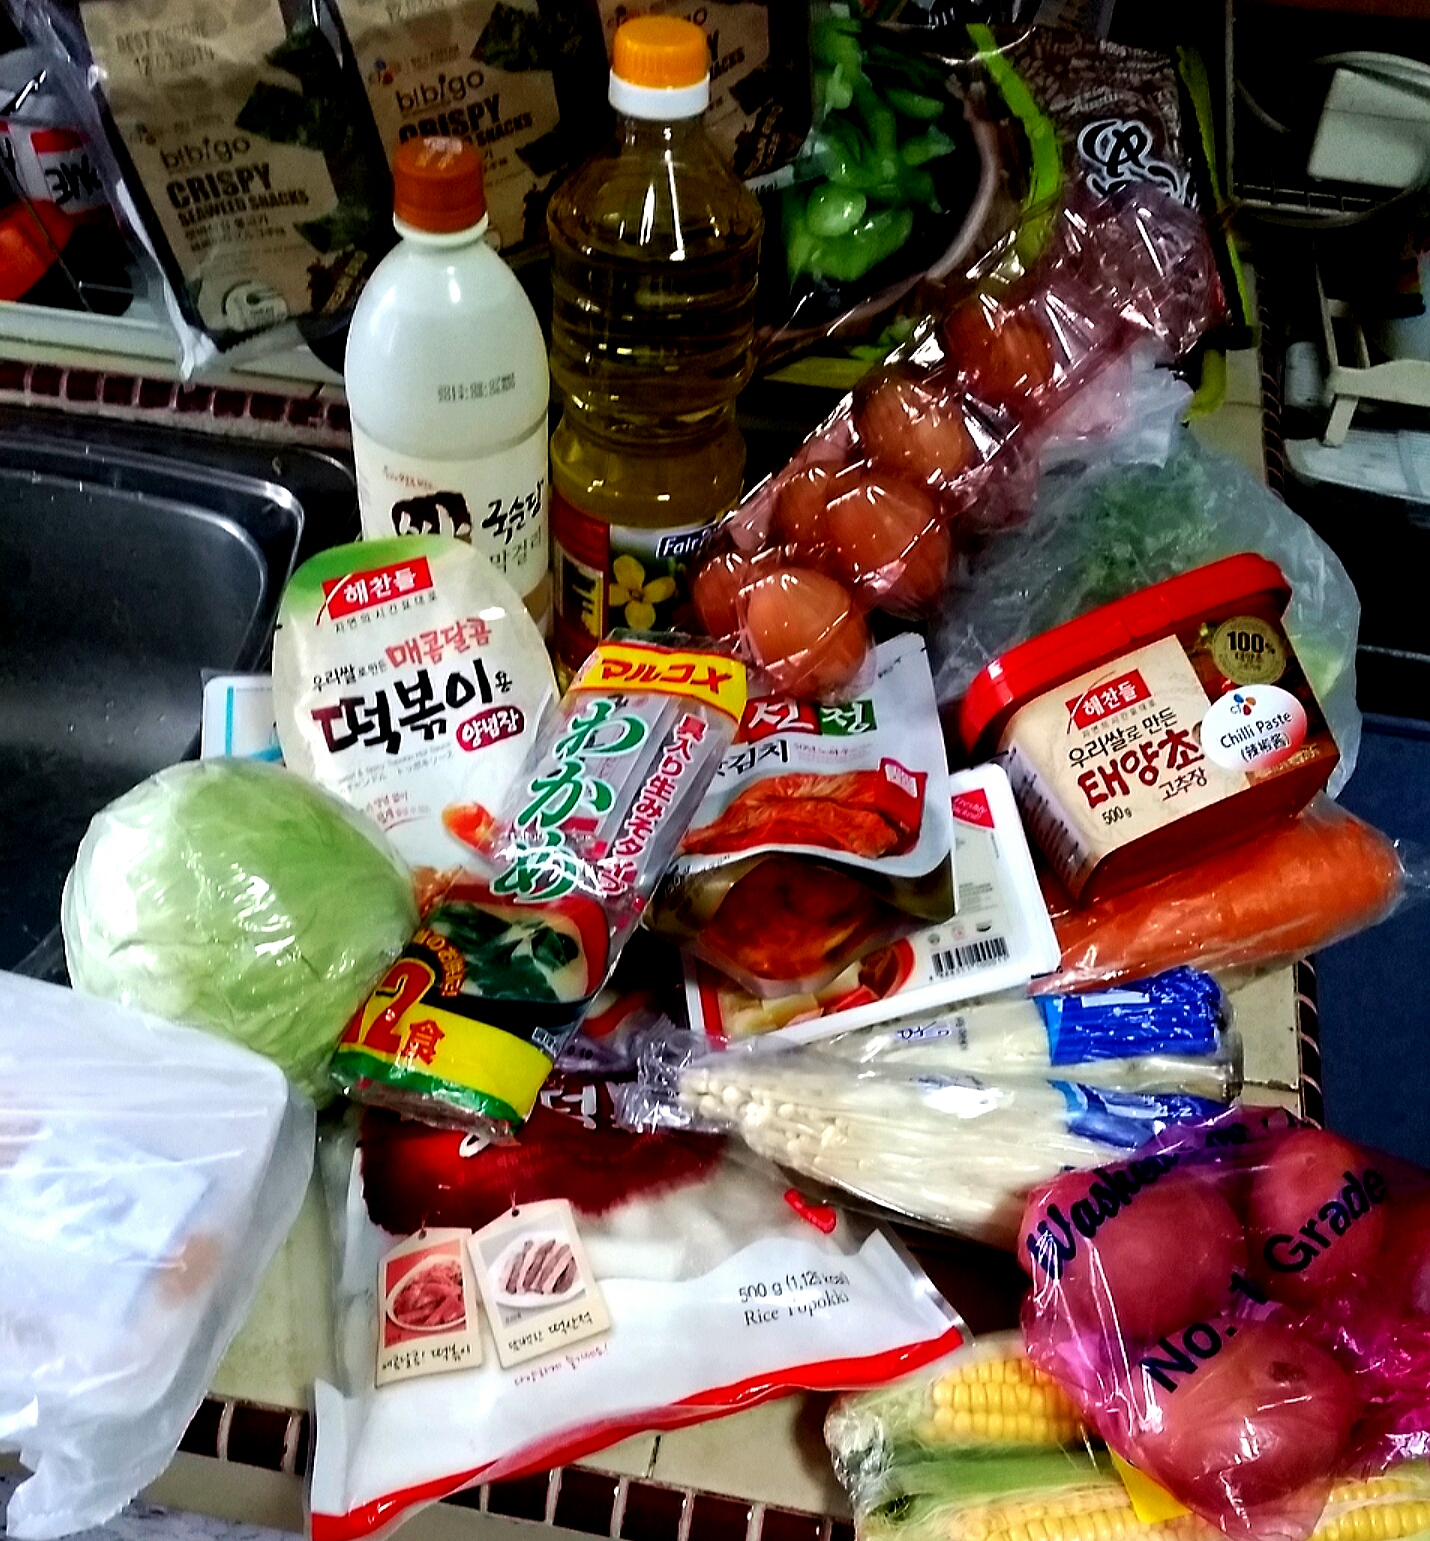
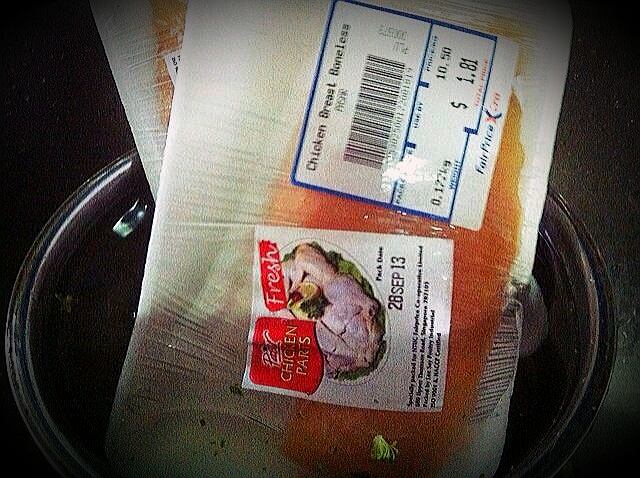
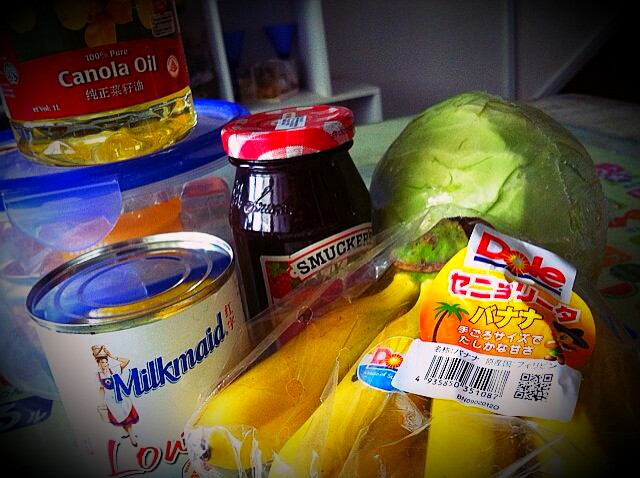
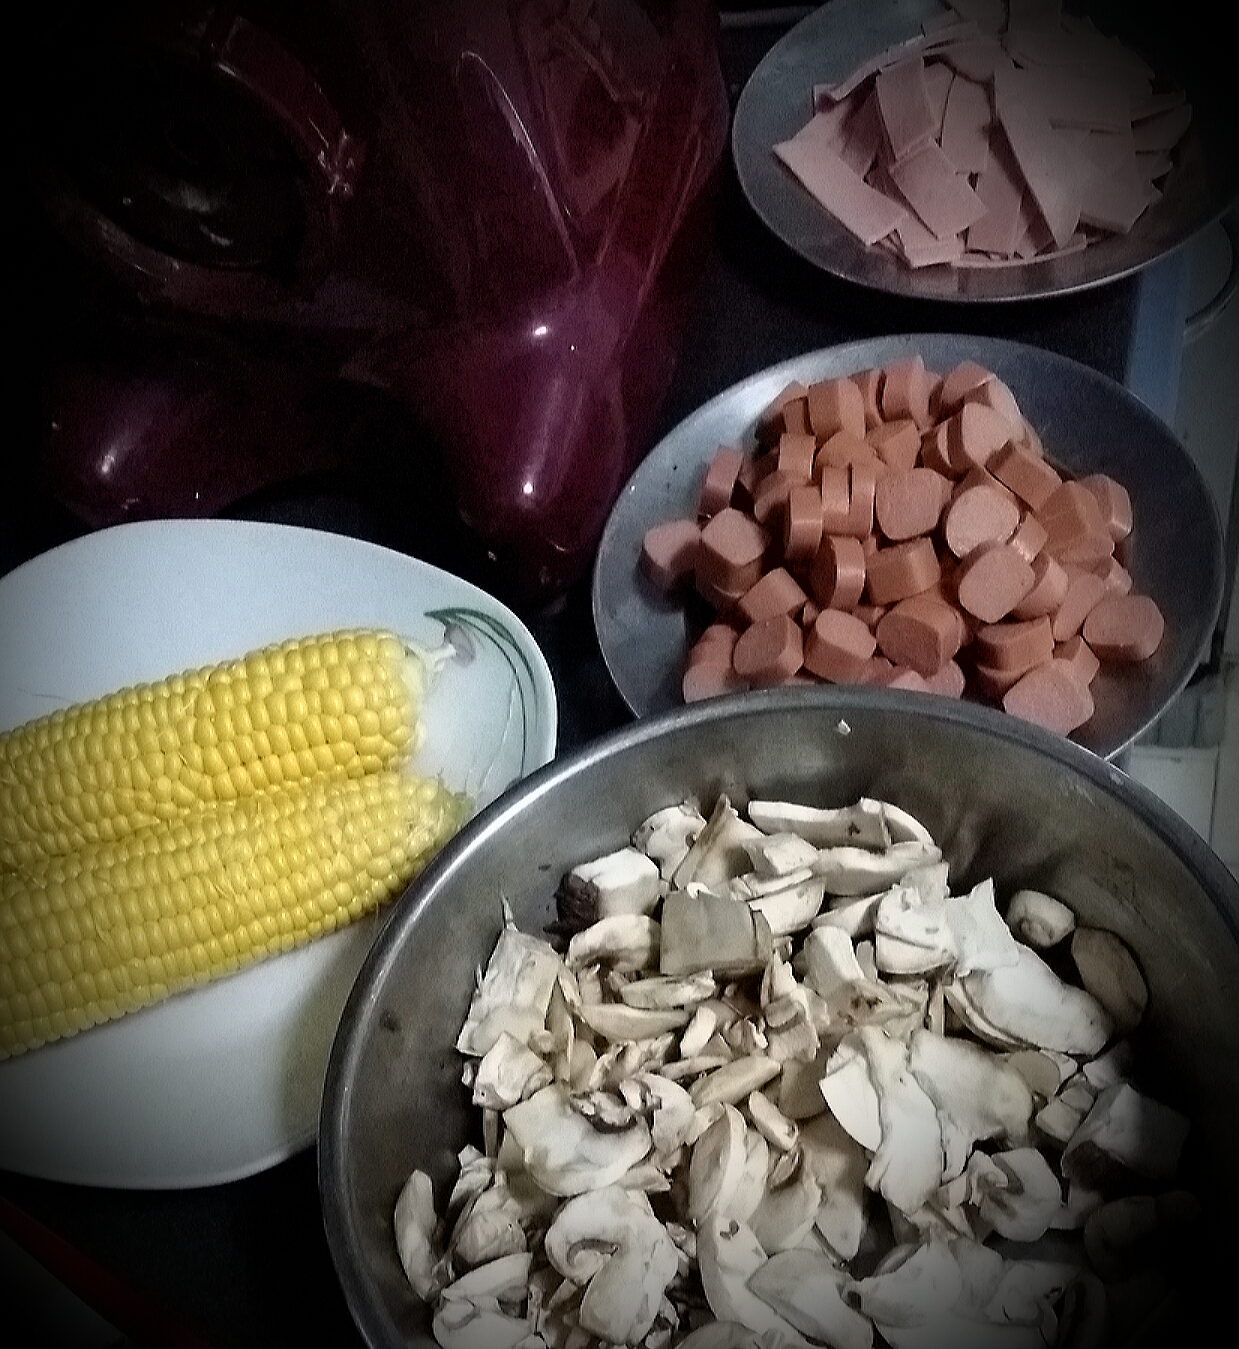
Ingredients!!
Broccoli / Carrot / Corn / Edamame / Golden Mushrooms / Hotdogs / Onions / Potatoes / Rice Cakes / Tofu
Miso Paste / Multi-purpose Sauce / Pepper Grinded (both Black and White) / Two Rabbits Chilli Paste
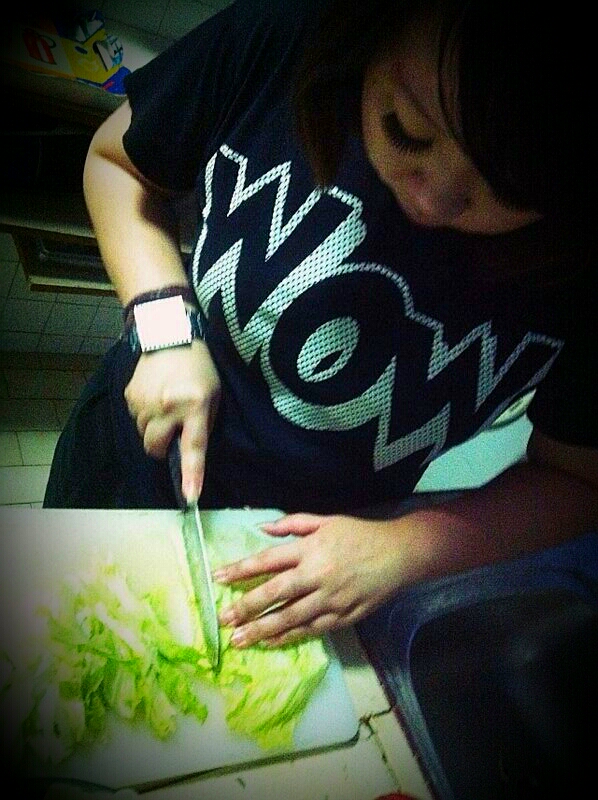
1st Step:
Prepare ingredients.

 2nd Step:
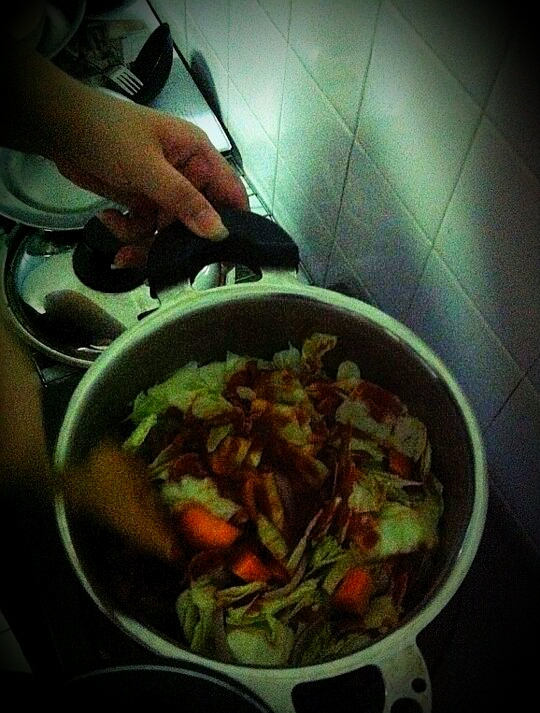
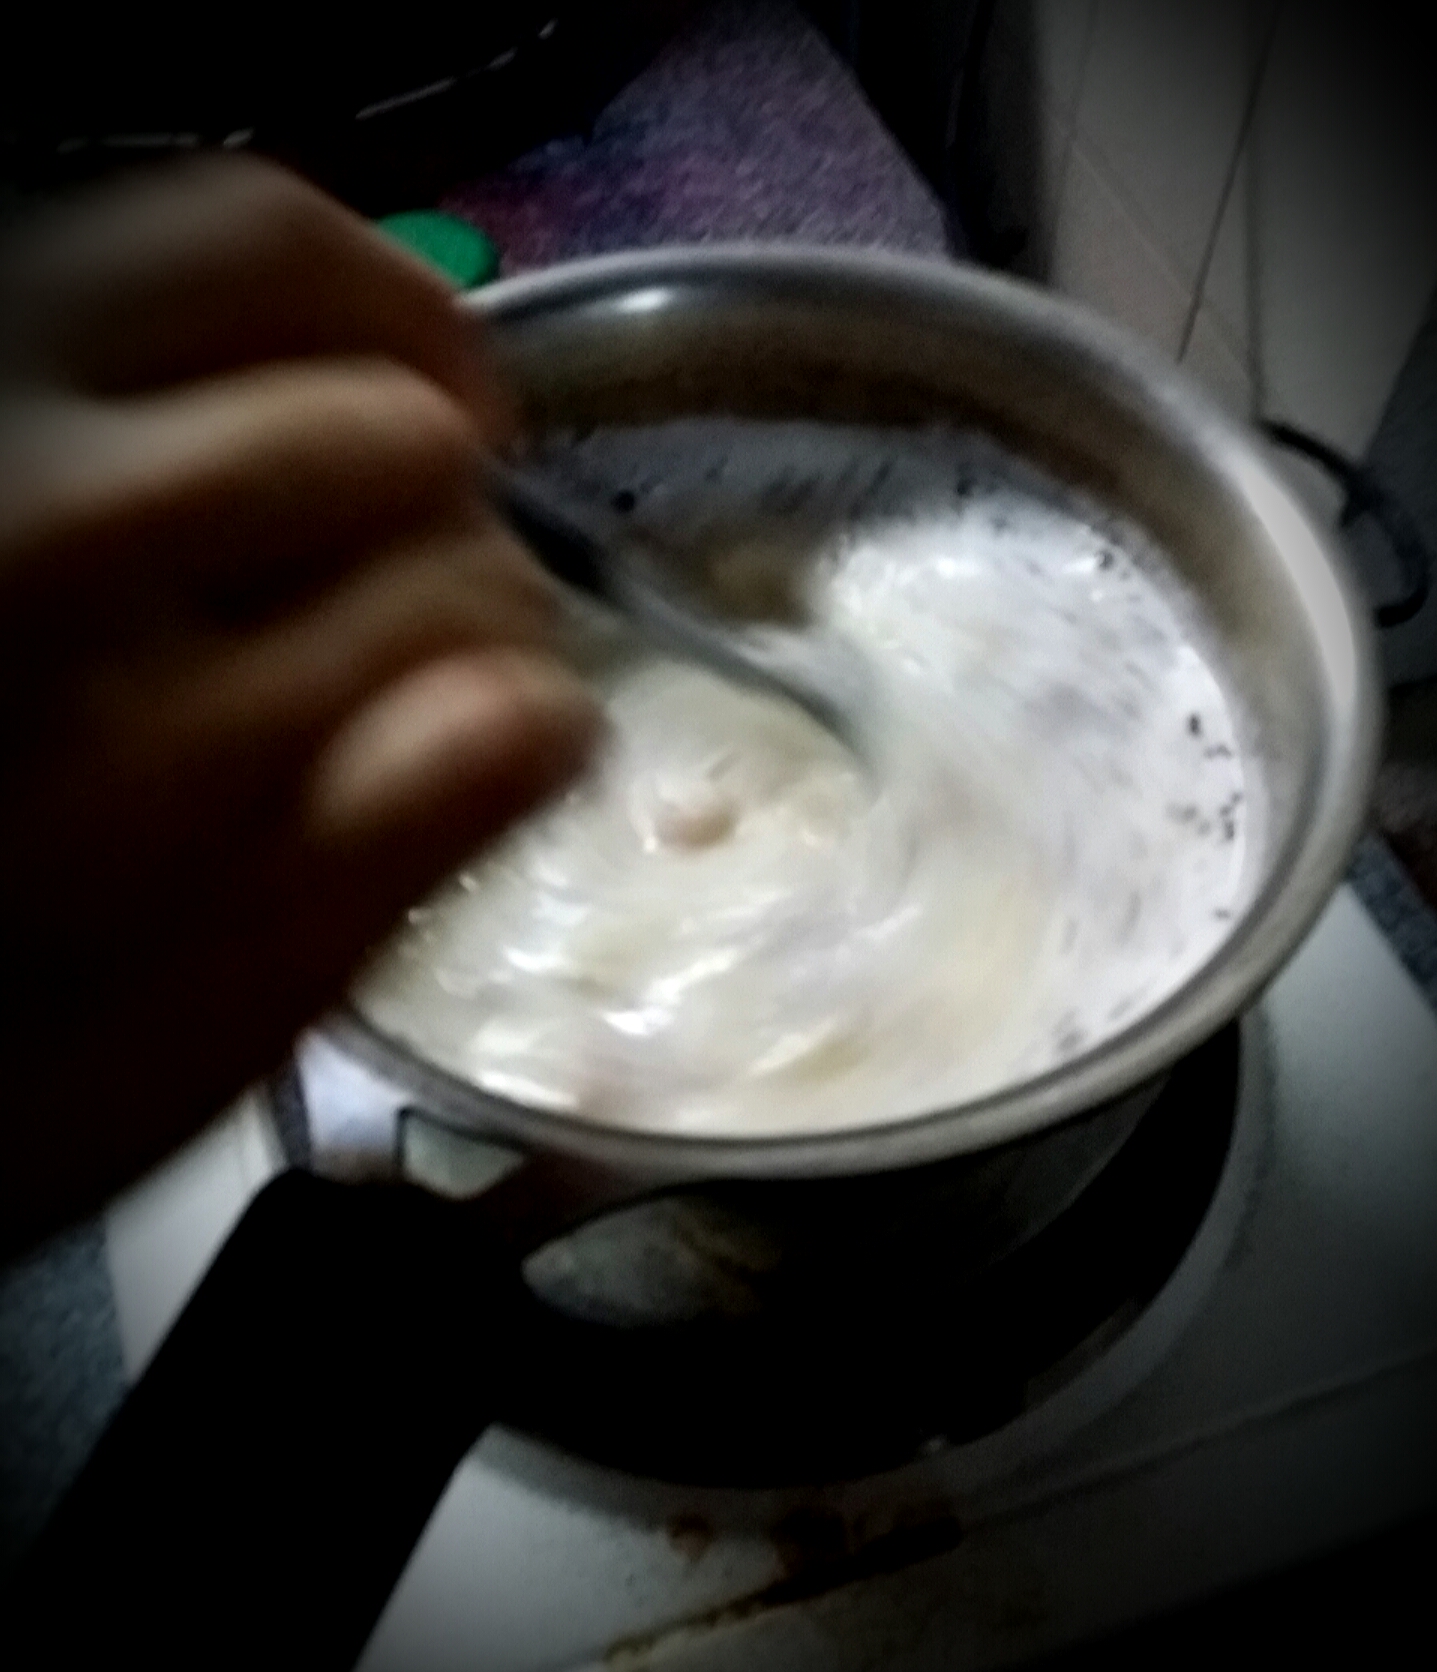
Cook soup.
1 Fill up your pot with X amount of water, depending on how much soup you want.
2. Add in some Miso Paste, stir it for it to dissolve, and leave it to boil.
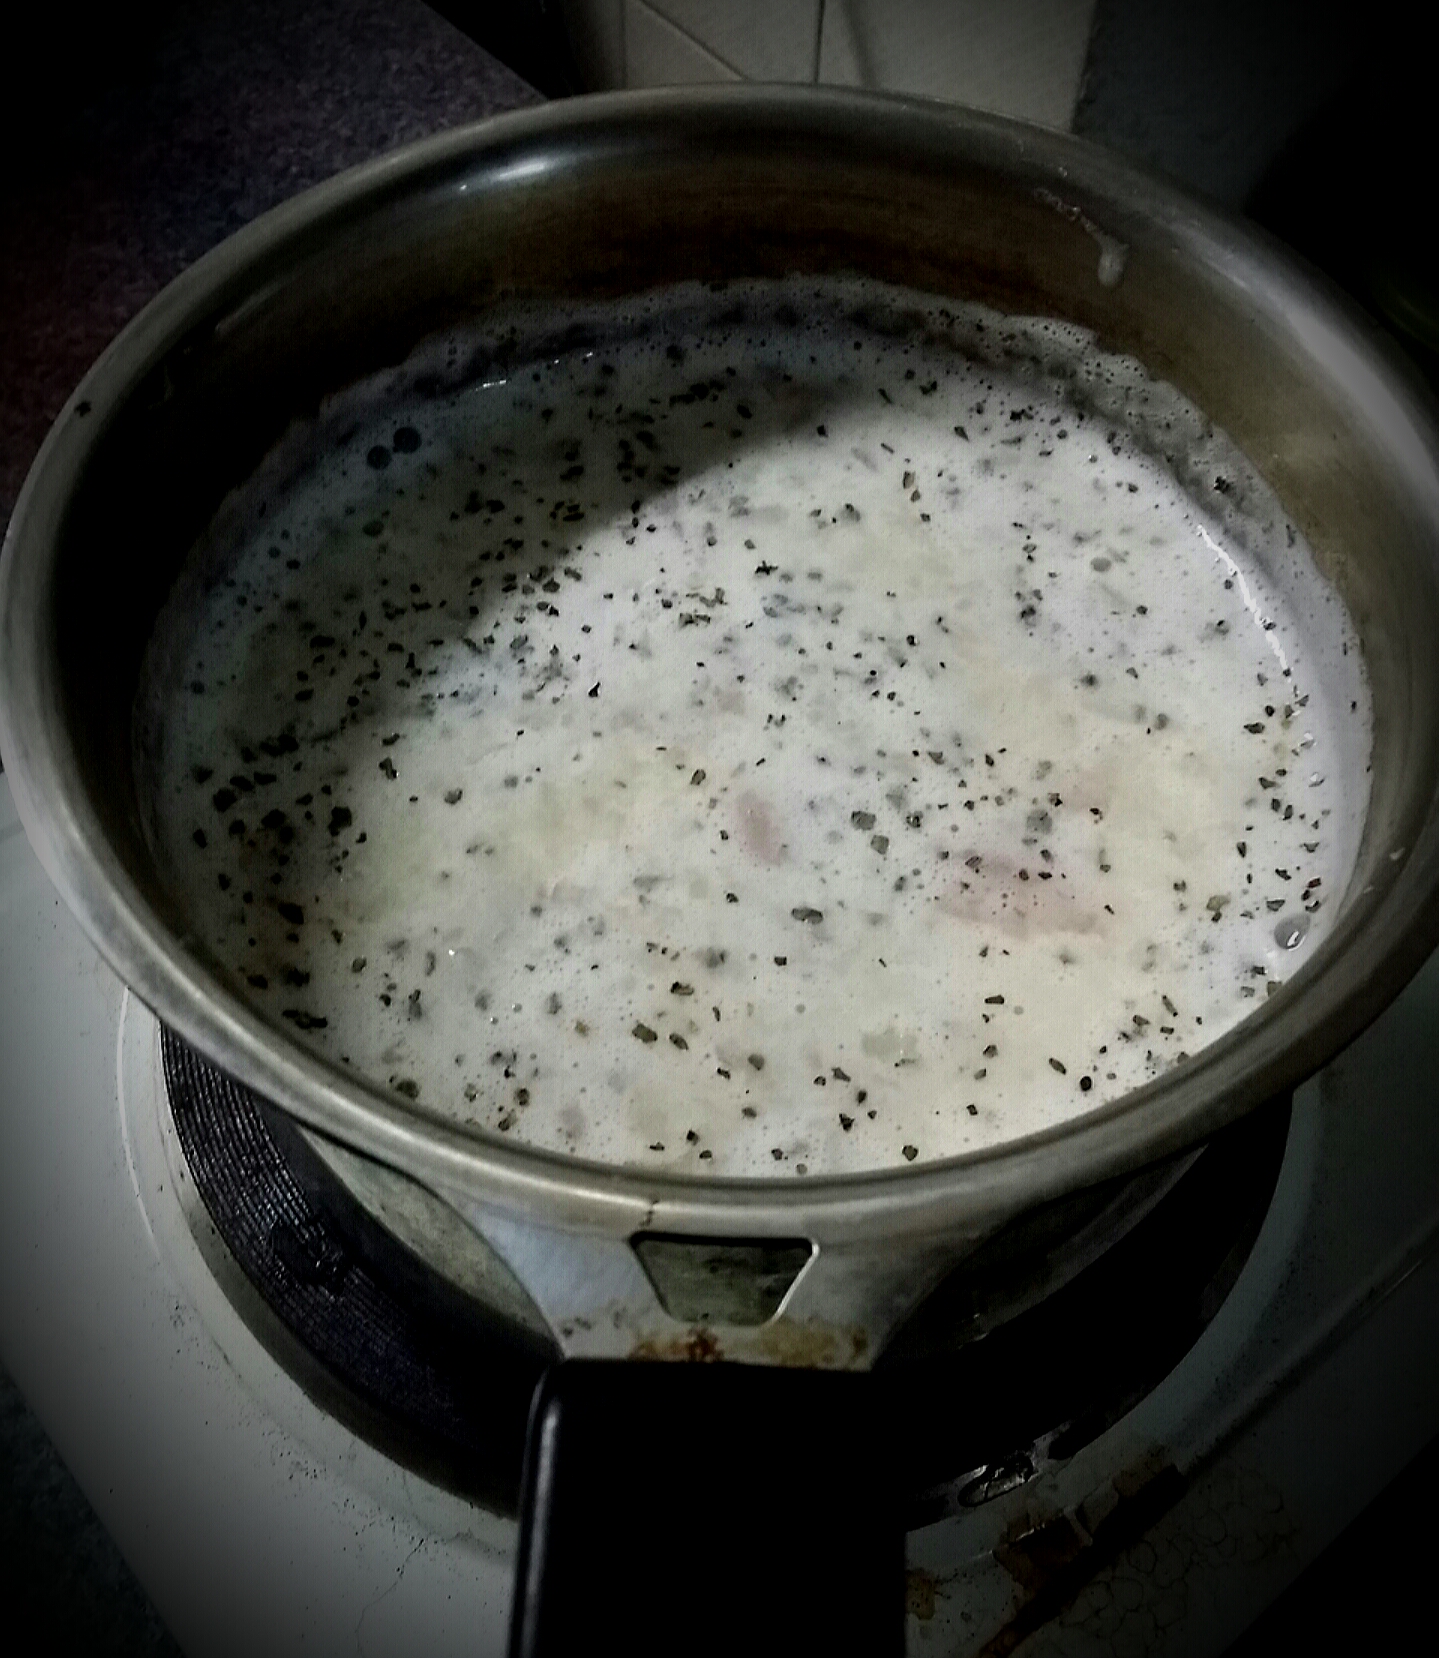
3. When it’s boiling, add in Carrots, Corn, Onions and Potatoes.
4. Boil them on high fire for about 5-7 minutes, then switch to lower fire.
5. Add in Golden Mushrooms and Tofu, plus both Black and White Grinded Pepper.
6. Leave the soup to simmer till you want to serve
 3rd Step:
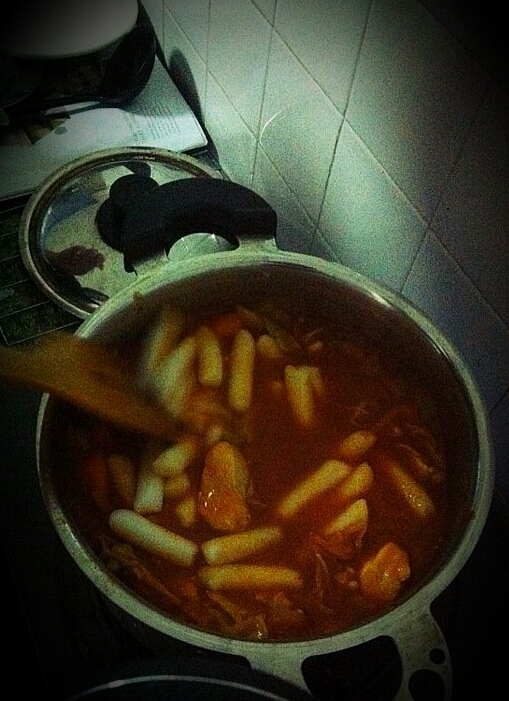
Heat up 2 small pots of water, then add in Rice Cakes and Edamame into individual pot to boil for awhile (in order to soften them first).
4th Step:
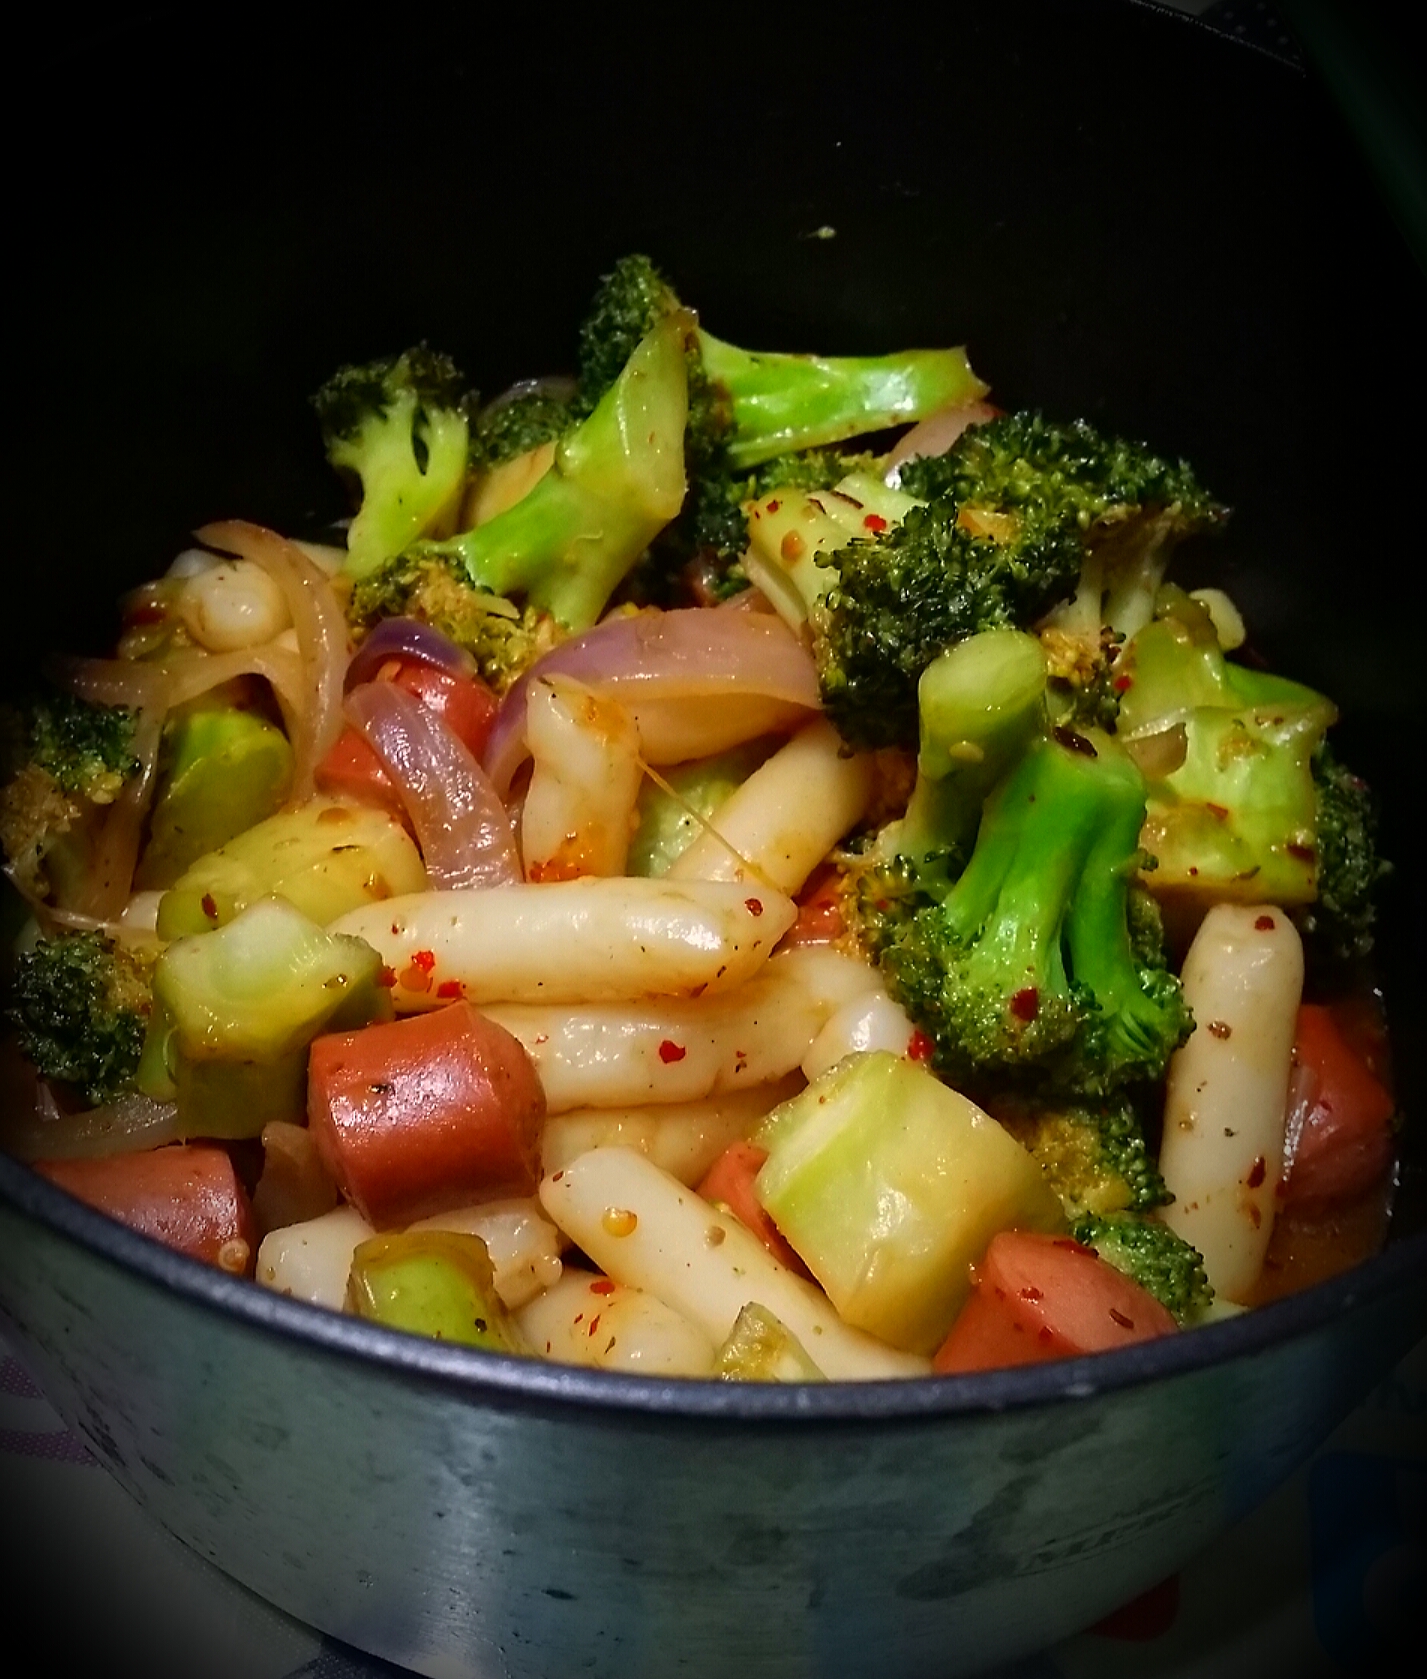
Cook Broccoli dish.
1. Heat up some oil on your frying pan.
2. Add Onions and stir fry.
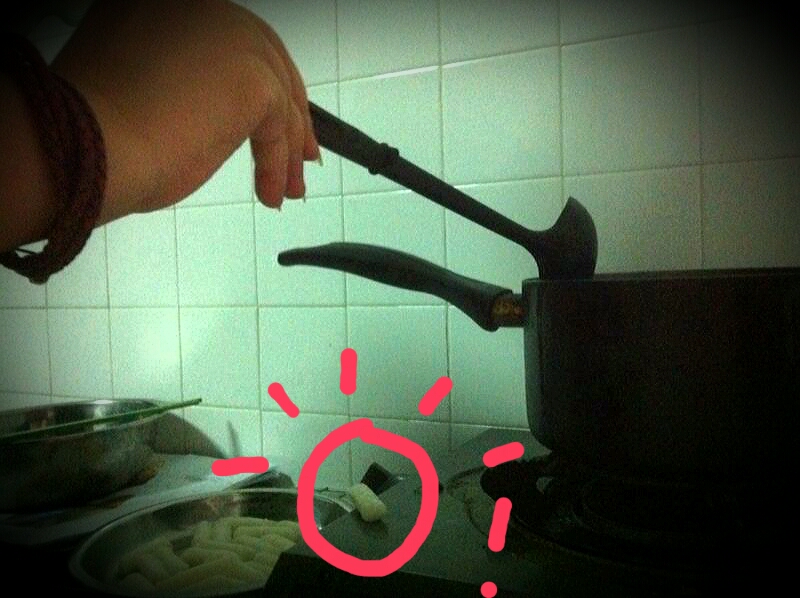
3. Add Broccoli in, then couple of minutes later add Rice Cakes and continue stir frying.
 4. Add in Multi-purpose Sauce and Two Rabbits Chilli Paste, then mix them in evenly. (You can skip the chilli paste if you do not want the dish to be spicy.)
5. Add in Hotdogs and cook for another 2 minutes.
 5th Step:
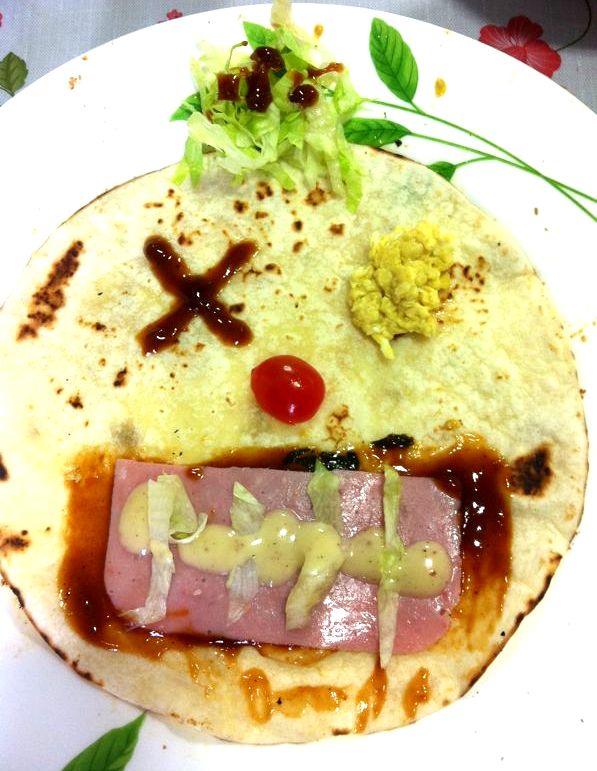
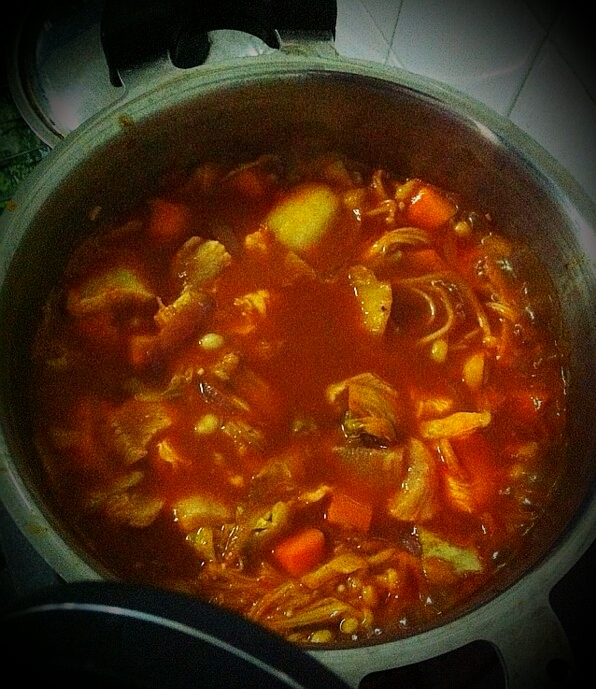
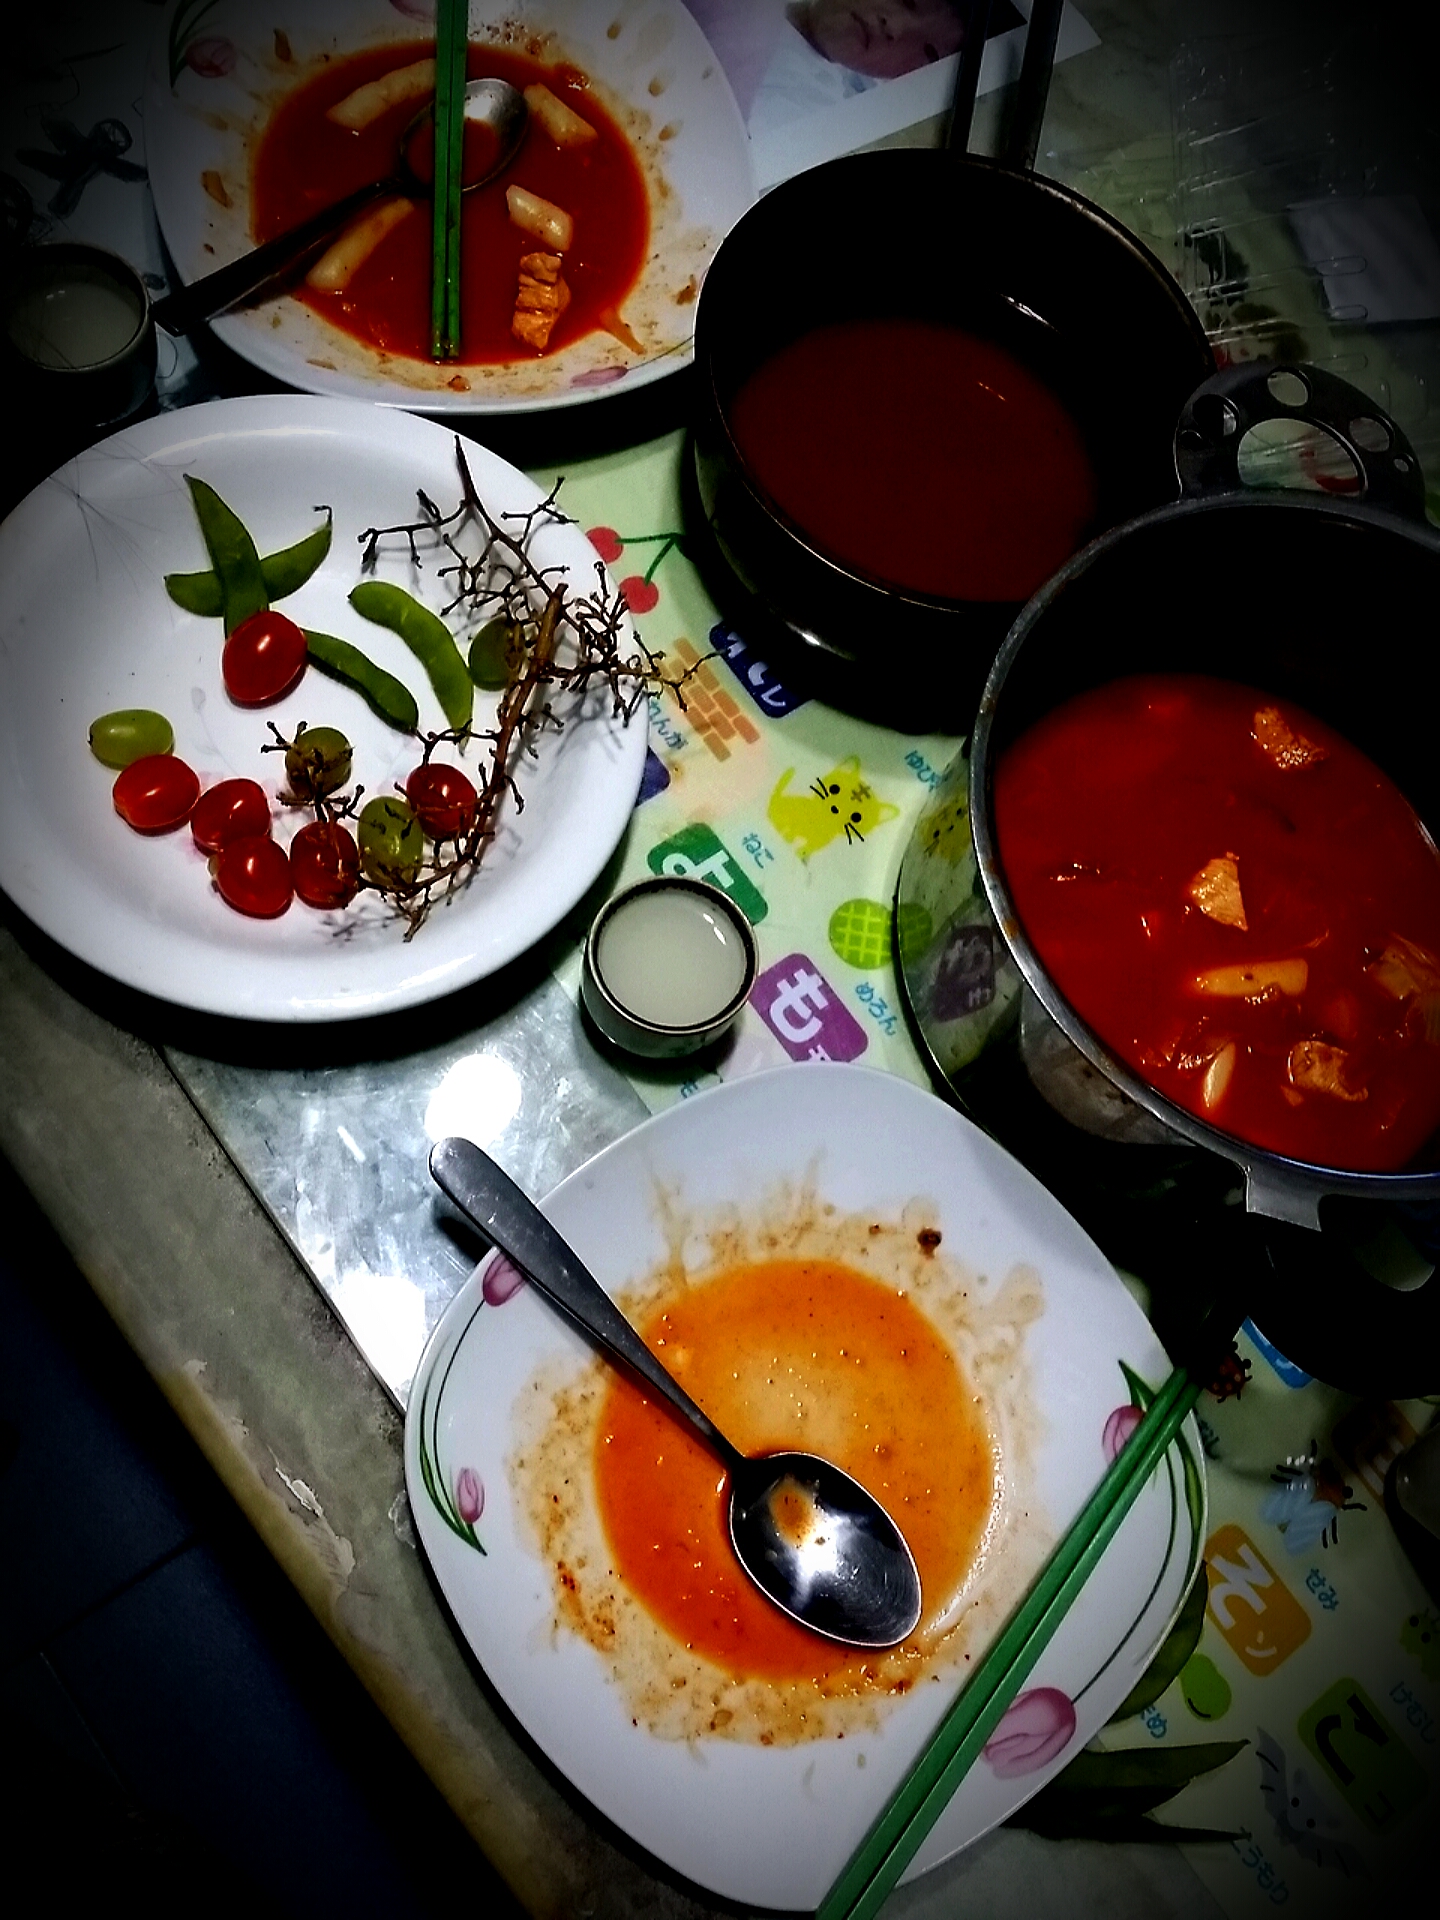
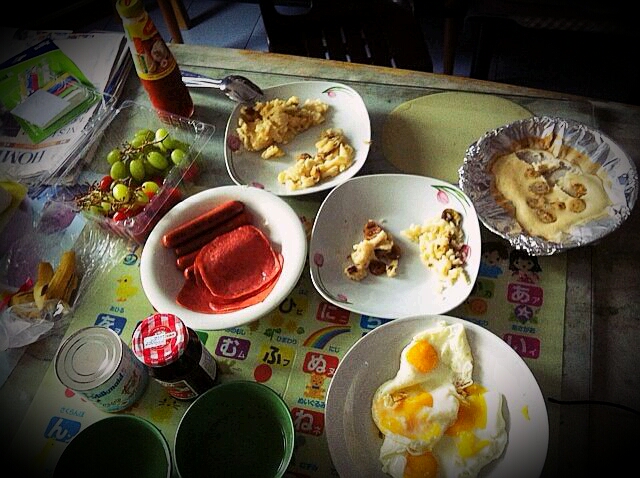
SERVE!!!
 It’s rather easy to whip up these 2 simple dishes, so start cooking something today!!!
Kindly support us!!!! Thankssssss!!!! *juggles broccoli*


 Of
Of

 7th
7th